This is the first real question most people ask us after they’ve decided Kilimanjaro is on the table. The answers floating around online run from “anyone can do it” (too breezy) to “you need to be a serious mountaineer” (flatly wrong). Neither helps you plan.
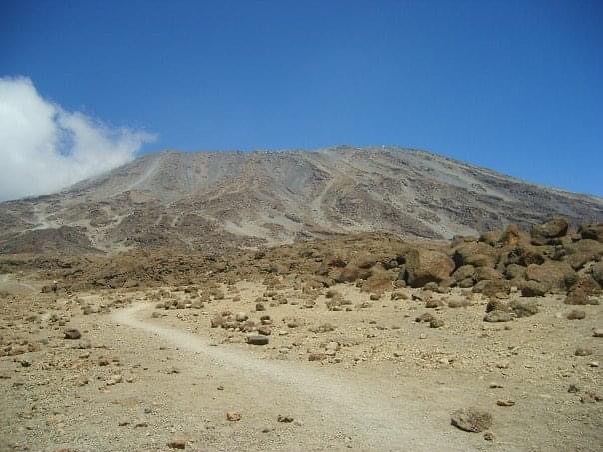
Here’s the practical reality. Kilimanjaro is a multi-day trekking climb. Seven or eight days of walking, five to eight hours a day, up to 5,895 metres on summit night. No crampons, no ropes, no technical skill required on the standard Kilimanjaro routes. What it demands is sustained aerobic capacity, leg endurance that recovers overnight, and the psychological discipline to keep moving when you’re cold, tired, and short of breath.
We guide this mountain year-round from Moshi — more than 1,700 summits between our lead guides — and we’ve seen marathon runners struggle while retirees with steady walking habits summit comfortably. Fitness matters. It just doesn’t matter in the way most people assume.
The Benchmark We Use
The fitness benchmark we give people when they ask: can you run 10km in under 60 minutes, three times per week, without it wrecking you?
That’s not about race pace. It’s not about running at all, strictly speaking. It’s a proxy for a baseline of aerobic fitness. If you can cover 10km three times a week at a comfortable jogging pace and still function normally the next day, you have the cardiovascular base Kilimanjaro asks for.
Why this benchmark? Three reasons.
First, it captures sustained effort. Kilimanjaro isn’t a hard burst of exercise. It’s a steady aerobic grind for eight or nine hours, repeated day after day. Ten kilometres at a moderate pace trains the same system.
Second, it captures repeatability. One big effort isn’t the test — it’s whether you can do it Monday, Wednesday, and Friday. That’s the pattern that matches multi-day trekking.
Third, it’s a benchmark you can honestly self-assess. Gym strength is easy to overestimate. A timed 10km is either under 60 minutes or it’s not.
If you can’t do this today, that’s not a disqualification. It’s a gap. Four to six months of consistent training closes it for most people in average health.
What Fitness Helps With — And What It Doesn’t
Fitness helps with four things on Kilimanjaro:
Daily hiking duration. Most days are five to eight hours of walking with a 3–5 kg daypack. Aerobic fitness lets you sustain this without hitting a wall halfway through day three.
Overnight recovery. The most important adaptation for multi-day trekking is how well your legs and cardiovascular system reset overnight. Fitter people recover faster. You wake up on day four feeling capable instead of depleted.
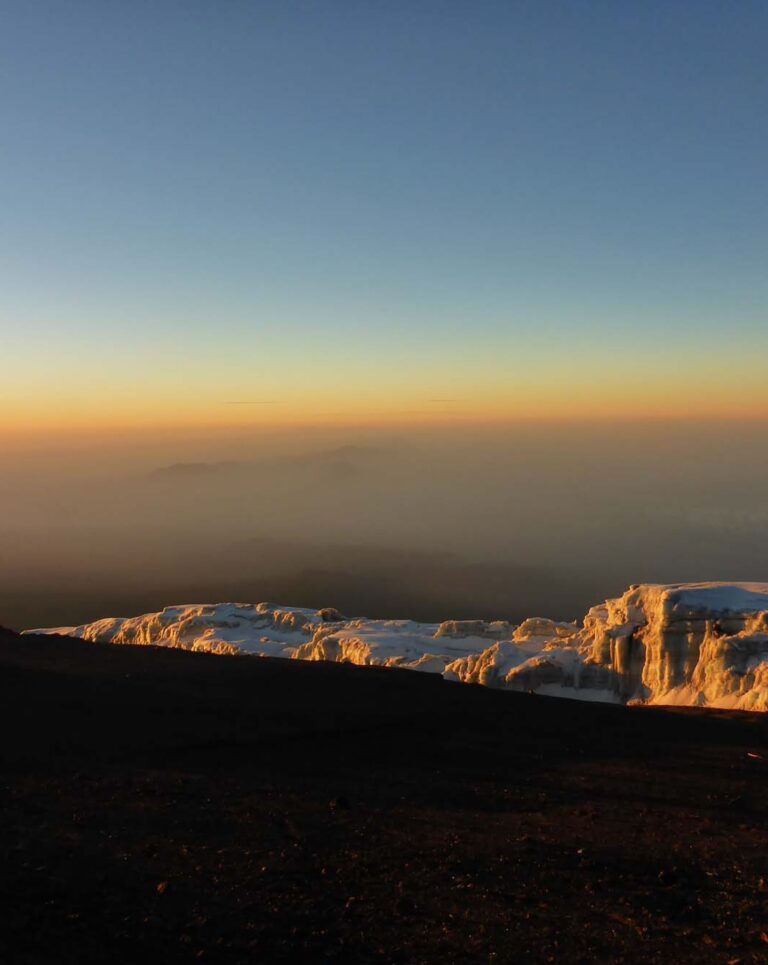
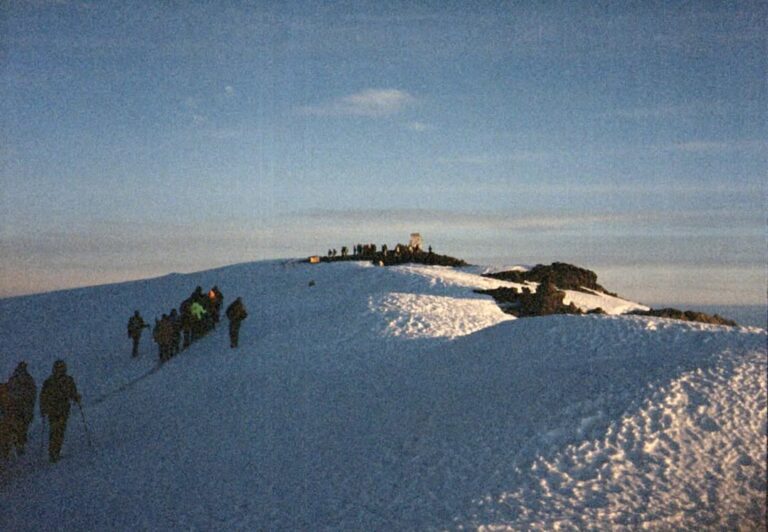
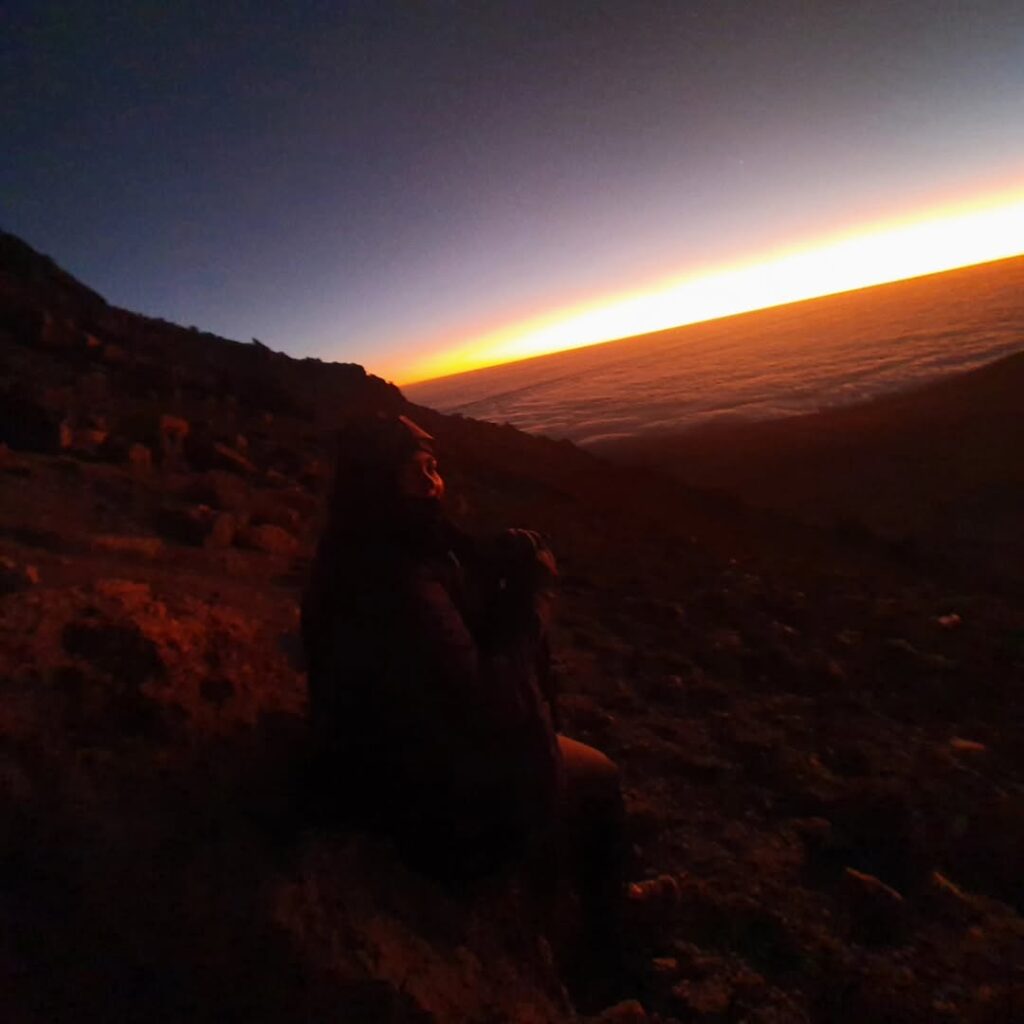
Summit night. Summit night is an 8–10 hour push starting near midnight from Barafu Camp at 4,673m to Uhuru Peak at 5,895m, often at –15°C with wind chill. The pace is deliberately slow. But slow over ten hours at extreme altitude still demands something from you. Fitness doesn’t make this easy. It makes it doable.
Mental resilience. Physical fitness and mental resilience overlap. When your body has capacity in reserve, your mind has capacity to manage discomfort. When your body is maxed out, everything feels harder than it is.
Here’s what fitness does not do: it does not guarantee you’ll acclimatize well. Altitude response is largely independent of fitness. Elite athletes fail to summit Kilimanjaro. Sedentary retirees summit fine. Genetics, hydration, sleep, pace, and individual physiology drive acclimatization. We go into this in more detail in our Kilimanjaro altitude sickness guide — worth reading before you finalise your training plan.
The practical upshot: train for the hiking, but don’t assume fitness alone insures you against altitude. Choose a route with a strong acclimatization profile, hike pole pole (slowly), and drink four or more litres of water a day on the mountain.
A 4–6 Month Training Plan That Actually Works
If you’re starting from a reasonable baseline (walking regularly, not currently injured, no serious medical issues), here’s the template we recommend. Adjust based on where you’re starting from.
Months 1–2: Build an Aerobic Base
Three aerobic sessions a week, 45–60 minutes each. Running, cycling, brisk walking, stair climbing — it doesn’t matter. What matters is consistent heart-rate elevation at a conversational pace. You should be able to speak in short sentences, not full ones.
Add one strength session a week. Focus on legs (squats, lunges, step-ups) and core (planks, hanging leg raises). Keep it simple. Two or three exercises, done with real intensity, beats a long list done half-heartedly.
By the end of month two, you should comfortably cover 5–8 km in a steady 45-minute effort.
Months 3–4: Build Duration and Carry Weight
Extend one aerobic session a week to 90–120 minutes. This is your long day. It trains the system that will carry you through five-to-eight-hour days on the mountain.
Start carrying a loaded daypack. Begin with 5 kg, build to 8 kg over a few weeks. The point is not to simulate mountain weight (your mountain daypack will be 3–5 kg). The point is to build muscular endurance in your shoulders, back, and core, so a lighter load on the actual climb feels easy.
Add a back-to-back weekend if you can. A long hike Saturday followed by a moderate walk Sunday simulates the recovery pattern you’ll need on Kilimanjaro. This is the most undertrained adaptation we see in clients.
By the end of month four, you should be able to run 10 km in under 60 minutes three times a week, or walk a loaded 15 km in under three hours, without lingering fatigue.
Months 5–6: Polish and Taper
At this stage your fitness is built. The last two months are about maintenance, not overtraining. Two aerobic sessions a week, one long hike on the weekend, and one strength session. Keep the load on.
If you have mountain or hill access, use it. Hills train the specific movement pattern your legs will make for seven days straight. Treadmills at incline work. Stair machines work. Flat running builds the aerobic base but doesn’t train the descent — and descending Kilimanjaro on summit day from nearly 6,000m back down to Mweka Camp (3,100m) in one long push is surprisingly hard on quads and knees. Downhill training matters.
In the final two weeks before your climb, taper. Reduce volume. Keep intensity moderate. Rest is not wasted time at this point; it’s what lets your body arrive fresh.
Who Needs More Preparation Than This
Some people need a longer runway than four to six months:
- If you’re starting from sedentary (no regular exercise for years), plan 9–12 months. Ease in. Injury risk is real if you go hard from zero.
- If you’re over 60 and haven’t trekked recently, plan 9–12 months and add a medical check-up to the start of your training block.
- If you have a previous knee, back, or hip injury, work with a physiotherapist early. Kilimanjaro’s long descent punishes unresolved issues. Read our notes on how hard it is to climb Kilimanjaro for more on the physical demands.
- If you’re significantly overweight, weight loss alongside aerobic training makes the climb considerably easier. Every extra kilogram is another kilogram you carry up 5,895 metres.
Common Mistakes We See
Over-indexing on running, under-indexing on hiking. Running builds aerobic fitness but doesn’t train the specific slow, loaded, uneven-terrain pattern of Kilimanjaro. If you can, hike. If you can’t, at least incline your treadmill.
Training only legs, skipping core and back. Eight days of carrying a daypack will reveal every weakness in your postural muscles. Planks, rows, and dead bugs aren’t glamorous; they’re prevention.
Ignoring descent. Summit day ends with a 2,800m descent. Untrained quads make this miserable. Downhill hiking or weighted eccentric squats prepare this.
Training too hard in the final two weeks. You can’t cram fitness. You can arrive tired. Taper.
Assuming altitude prep at home is possible for most people. Altitude tents exist but aren’t practical for most. The best altitude preparation is choosing a longer, slower route with a good acclimatization profile — the Lemosho route or Northern Circuit route are the strongest options — and following your guide’s pace on the mountain.
What to Expect on the Mountain
If you’ve hit the benchmark and followed a sensible training plan, here’s the honest forecast:
Days one and two feel easy. You’ll wonder what the fuss is about. Day three is where altitude and fatigue start to register. By day five or six, you’ll be tired — not because you’re unfit, but because you’ve been walking for a week. On summit night, you’ll go through everything you’ve trained for. Slow pace, cold, thin air, hours of darkness.
Most people describe reaching Uhuru Peak as one of the best moments of their lives. We take that seriously — we don’t want fitness to be the thing standing between you and that morning. The training is there to remove one variable so the mountain gets to be the mountain.
If you’re unsure whether you’re ready, or you want to talk through a specific training plan for your starting point, our team in Moshi is happy to walk through it with you. Fitness is the easiest variable to plan for. The harder ones — timing, route choice, altitude strategy — are where we earn our keep.