Altitude sickness is the primary reason Kilimanjaro attempts fail. Not fitness. Not technical difficulty. Not weather. More people turn back because their body is struggling with the altitude than for any other reason.
The good news is that altitude sickness on Kilimanjaro is highly manageable. Not eliminatable — every climber will feel some effects — but manageable in a way that, with the right preparation and the right guide team, allows the vast majority of people to reach the summit safely. Our success rates of 95–98% on Machame and Lemosho aren’t an accident. They reflect a specific approach to acclimatisation, pace, monitoring, and communication.
Here’s what works.
What’s Actually Happening at Altitude
At sea level, each breath delivers a full load of oxygen to your lungs. As you gain altitude, atmospheric pressure drops — and with it, the density of oxygen in each breath. At the summit of Kilimanjaro (5,895m), the air pressure is roughly 47% of sea level pressure. You’re getting about half the oxygen per breath that you’re used to.
Your body has mechanisms to compensate. You breathe faster and more deeply. Your heart rate increases. Over days at altitude, your blood begins producing more red blood cells to carry whatever oxygen is available more efficiently. This process — acclimatisation — is real, it works, and it’s the foundation of everything else on this list.
What it requires is time. Acclimatisation cannot be rushed. You cannot train for it at sea level (though good cardiovascular fitness helps you tolerate the effort). You cannot compensate for it with willpower. The body adapts to altitude at its own pace, and the role of a well-designed route itinerary is to give it enough time to do so.
Tip 1: Choose the Right Route and Duration
This is the most impactful decision you make for altitude management, and it happens before you ever leave home.
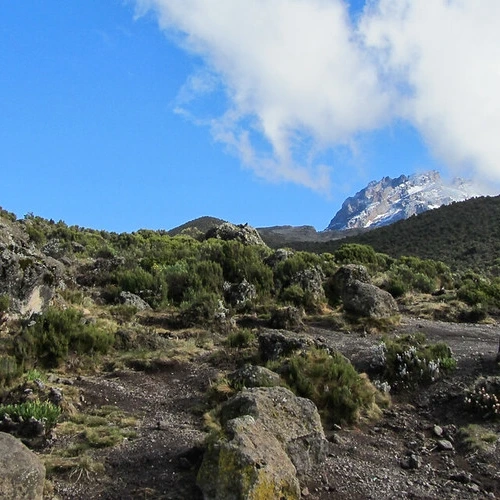
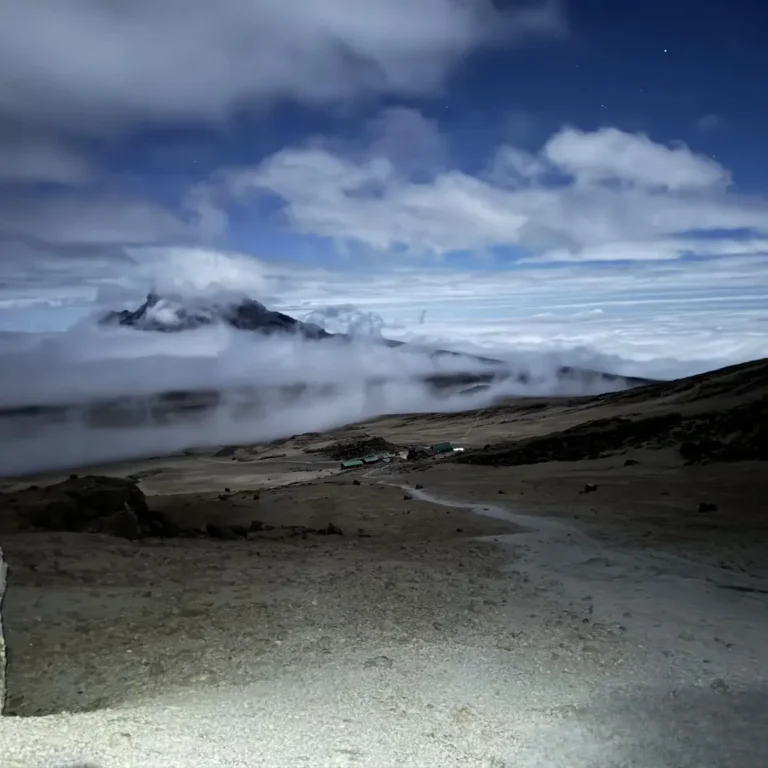
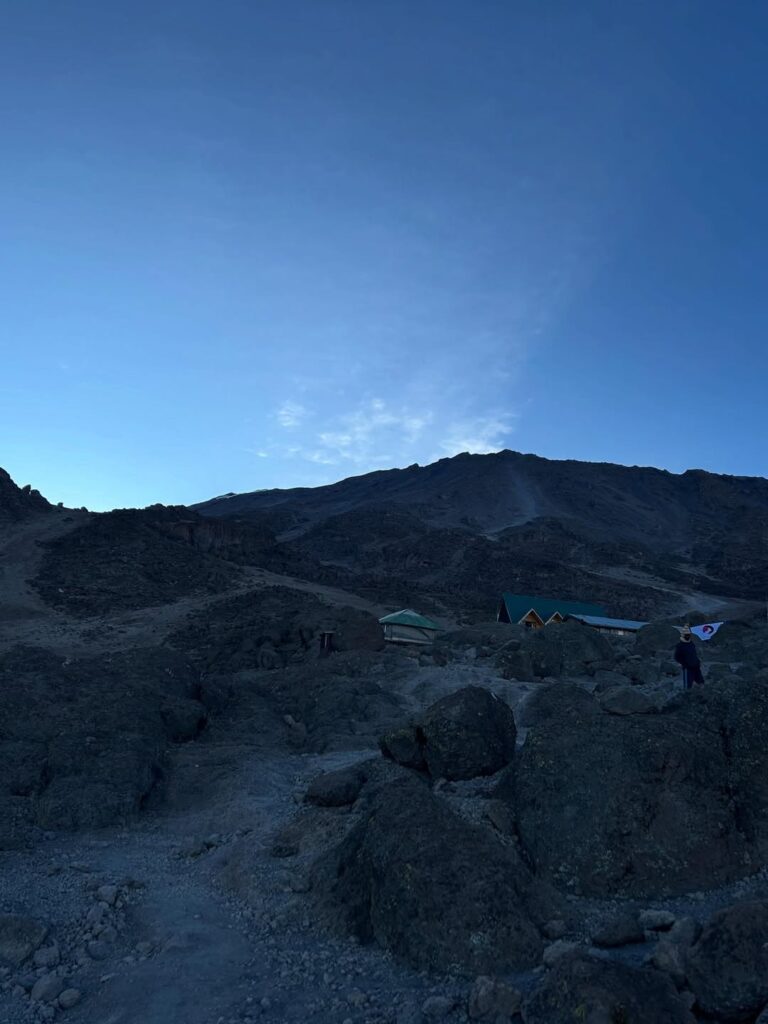
The Lemosho Route at 8 days is the route we most consistently recommend for clients who are concerned about altitude susceptibility. Its approach from the western plateau means you spend additional days in the middle altitude zones — 3,500–4,000 m (11,483–13,123 ft) — before reaching Barafu (4,673 m / 15,331 ft), summit staging camp. This extended middle-altitude exposure makes a measurable difference to how most people handle the final push.
The Machame Route at 7 days is our most popular route and has an excellent acclimatisation profile, partly because of the “climb high, sleep low” principle built into its design: on day three you climb to Lava Tower (4,642 m / 15,233 ft) before descending to sleep at Barranco Camp (3,950 m / 12,959 ft). That upward excursion without staying at altitude is one of the most effective acclimatisation techniques used on any high-altitude route in the world.
The Marangu Route at 5 days has the lowest success rate of our routes, and the primary reason is duration. Five days doesn’t give most people’s bodies sufficient time to adapt. The mountain is not harder on that route — your body is just less prepared.
The general principle: if budget and schedule allow, choose a longer route. Every extra day at altitude before the summit push is working in your favour.
Tip 2: Walk Slowly — Actually Slowly
Pole pole — Swahili for “slowly, slowly” — is the phrase every guide says on Kilimanjaro. It’s not motivational. It’s physiological.
When you walk slowly, your heart rate stays lower, your breathing remains more controlled, and your body’s oxygen demands are lower. This matters throughout the climb, but it matters most in the upper zones. Above 4,000 m / 13,123 ft, the cardiovascular demand of walking at your normal pace is significantly higher than it would be at sea level. The pace that feels comfortable to your muscles is not the pace that’s sustainable at altitude.
The most common mistake well-fit climbers make is walking at a pace that reflects their fitness level, not the altitude. Someone who runs 10km three times a week will find the terrain comfortable and walk accordingly. By the afternoon of day four, they’re the person with the splitting headache, not because they’re unfit, but because they’ve been working their cardiovascular system too hard for the oxygen available.
When your guide sets a pace that feels slower than necessary, trust it. When you feel like you could walk faster, don’t. The mountain rewards patience.
Tip 3: Hydrate Deliberately
Dehydration and altitude sickness have overlapping symptoms — headache, fatigue, nausea — and they compound each other. A dehydrated climber at 4,500 m / 14,764 ft feels significantly worse than a well-hydrated one. And the dry, cold air at high altitude means you’re losing water through breathing faster than you might realise.
The target is 3–4 litres of water per day, starting from day one. Not just on summit days. Every day on the mountain.
Practical notes: your appetite for water often drops at altitude, which is the opposite of what you need. Drink to a schedule, not to thirst. Electrolyte tablets or powder are useful — they replace what you lose in sweat and make water easier to absorb. Avoid alcohol, which dehydrates you and masks altitude symptoms. Limit coffee to one cup a day if possible; caffeine has a diuretic effect.
Insulate your water supply. At high camps and on summit night, uninsulated hydration bladder tubes freeze. An insulated bottle or a tube cover is not a luxury — it’s the difference between being able to drink on summit night and not being able to.
Tip 4: Eat Consistently, Even When You Don’t Want To
Altitude kills appetite. By days four and five on the mountain, most people are eating less than their bodies need. This matters because your body is burning significant energy — both the physical effort of climbing and the metabolic cost of staying warm. Cold environments dramatically increase caloric demand.
Our cook team prepares three meals a day on the mountain, calibrated for altitude eating: high in carbohydrates (which metabolize more efficiently at altitude than fats or proteins), varied enough to remain appealing despite reduced appetite, and appropriately sized without being overwhelming.
Force yourself to eat, particularly dinner the night before summit push. You are about to ask your body to walk for 6–8 hours in sub-zero temperatures. It needs fuel.
Tip 5: Sleep as Well as You Can
Sleep quality at altitude is genuinely poor for most people. This is a known physiological effect — Cheyne-Stokes breathing (a pattern of breathing that alternates between deep and shallow, sometimes stopping briefly) is common above 3,500 m / 11,483 ft. You may wake frequently feeling short of breath and find it difficult to get back into deep sleep.
This is unpleasant but not dangerous in itself. What it does do is accumulate fatigue over successive nights, which is one reason people feel significantly better once they descend below 3,000 m / 9,843 ft.
Strategies that help: avoid alcohol and heavy meals close to sleep time; keep your sleeping bag unzipped slightly so you don’t overheat (paradoxically, being too warm makes sleep breathing worse at altitude); don’t obsess about the poor sleep pattern — everyone experiences it and you can function adequately even on interrupted sleep.
If you’re using Diamox (see below), take the evening dose with dinner rather than immediately before bed to reduce the midnight urination issue many people experience.
Tip 6: Understand Diamox — and Decide Before You Leave Home
Acetazolamide (Diamox) is the most widely used altitude sickness prevention medication for Kilimanjaro. It works by acidifying the blood slightly, which stimulates faster and deeper breathing — effectively increasing the amount of oxygen you take in per unit of time. For most people who use it, it noticeably reduces headache and fatigue at altitude and improves sleep quality.
It is not a guarantee. It is not a substitute for a proper acclimatisation profile. And it has side effects that are worth knowing about before you’re at 4,000 m / 13,123 ft:
- Increased urination (particularly in the first 24 hours)
- Tingling or numbness in the fingers, toes, and sometimes face — benign but disconcerting if you don’t know to expect it
- Occasional blurred vision or taste sensitivity
- Carbonated drinks taste flat (a side effect nobody minds on the mountain)
The standard dose used by most altitude medicine practitioners for Kilimanjaro is 125mg twice daily, starting 24 hours before the ascent begins and continuing through the descent. Some use 250mg; lower doses tend to have fewer side effects while retaining most of the benefit.
Diamox is a sulfa-based drug. If you’re allergic to sulfonamides, you cannot take it. Discuss this with your GP.
This is a conversation to have with your doctor at home — not a decision to make based on advice from a tent mate at Barafu Camp. A GP familiar with altitude medicine will give you a proper prescription and the correct context for how to use it.
Tip 7: Recognise the Symptoms — And Tell Your Guide
Early AMS symptoms are easy to dismiss as tiredness or dehydration. Recognising them specifically is important because early recognition = early response = straightforward management.
Mild AMS: Headache, fatigue, loss of appetite, nausea, dizziness, disturbed sleep. Extremely common above 3,000m. Managed by slowing pace, increasing hydration, and monitoring. Does not require descent unless symptoms worsen or don’t improve.
Moderate AMS: Persistent severe headache not relieved by ibuprofen or paracetamol, significant nausea and vomiting, marked fatigue, loss of coordination (ataxia). This is a signal that the body is not adjusting adequately. The correct response is to stop ascent and reassess; descent may be warranted.
HACE (High Altitude Cerebral Edema): Confusion, altered mental state, loss of coordination, severe headache, vomiting. This is a medical emergency. The treatment is immediate descent. Our guides carry dexamethasone, which can buy time while descent is organised.
HAPE (High Altitude Pulmonary Edema): Breathlessness at rest, persistent cough (may produce frothy or blood-tinged sputum), extreme fatigue, cyanosis (blue lips or fingertips). This is the most dangerous altitude condition. Treatment: immediate descent, supplemental oxygen, nifedipine if available. Our medical kits carry both.
The critical instruction: tell your guide what you’re experiencing. Not the polished version. The real version. If your head is pounding, say so. If you threw up dinner, say so. If you’re confused about where you are, that should absolutely be said.
Your guide has checked your SpO2 this morning and this evening and knows your baseline. They’ve seen your gait, your appetite, your energy level over several days. When you give them the symptom information, they have context that allows them to assess accurately. A guide who is kept in the dark cannot help you effectively.
We monitor SpO2 twice daily and more frequently if a client is presenting any symptoms. Readings below 75%, or drops greater than 5 percentage points from a client’s prior reading, trigger closer assessment and a conversation about next steps. AMS symptoms including confusion, persistent cough at rest, or breathlessness without exertion result in mandatory descent — regardless of oxygen reading. The symptoms matter as much as the number.
Tip 8: Understand That Descent Is the Treatment
This sounds obvious but is worth stating: the definitive treatment for altitude sickness — mild, moderate, or severe — is descent. Medications help, oxygen helps, rest helps. None of them replace descending.
Most people experience such rapid improvement on descent that it’s almost startling. A client who is struggling at 4,600 m / 15,092 ft frequently feels dramatically better by 3,500 m / 11,483 ft — within an hour or two of beginning to descend. Altitude sickness is altitude-dependent. Remove the altitude, remove the primary cause.
This is why our guides have genuine authority to call a descent, and why we support that authority fully. A guide who is uncertain whether they’ll be backed in a descent call is a guide with divided attention. Our lead guides are not divided. If they say it’s time to go down, it’s time to go down.
For clients: hear a descent recommendation as what it is — a guide who is looking out for you, not a guide who has given up on your summit. In most cases, a client who descends for a night and reascends the following day (if time allows on the itinerary) does so successfully. In cases where descent is the end of the summit attempt, you come home healthy. That is always the right outcome.
For more on what to expect on the mountain day by day, and how our approach to safety works across the full climb, see our safety page and how hard is it to climb Kilimanjaro guide. If you’re thinking about which route to choose based on your altitude concerns, our routes overview walks through the options in detail.