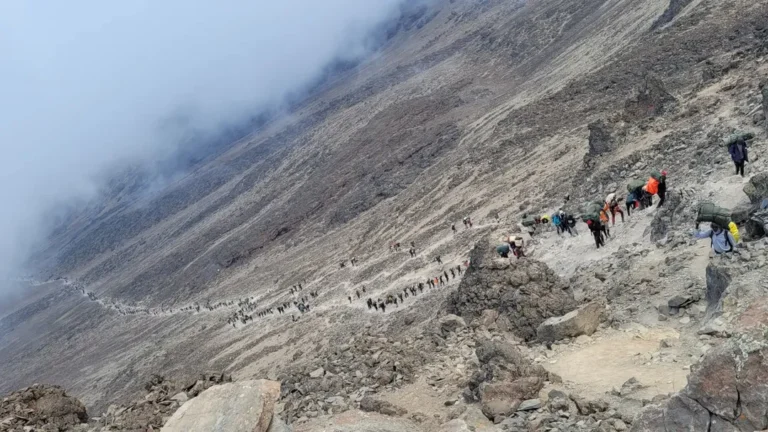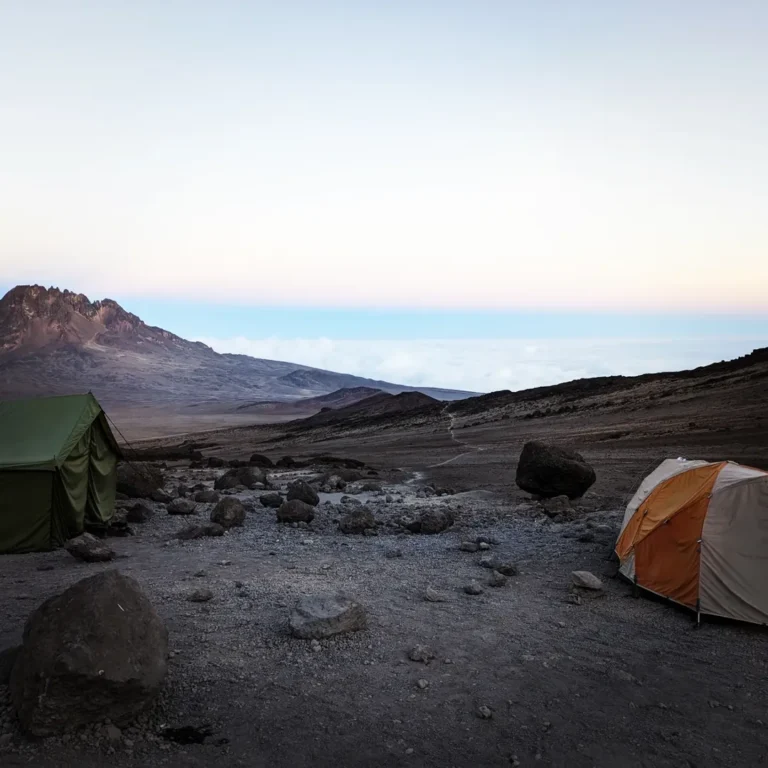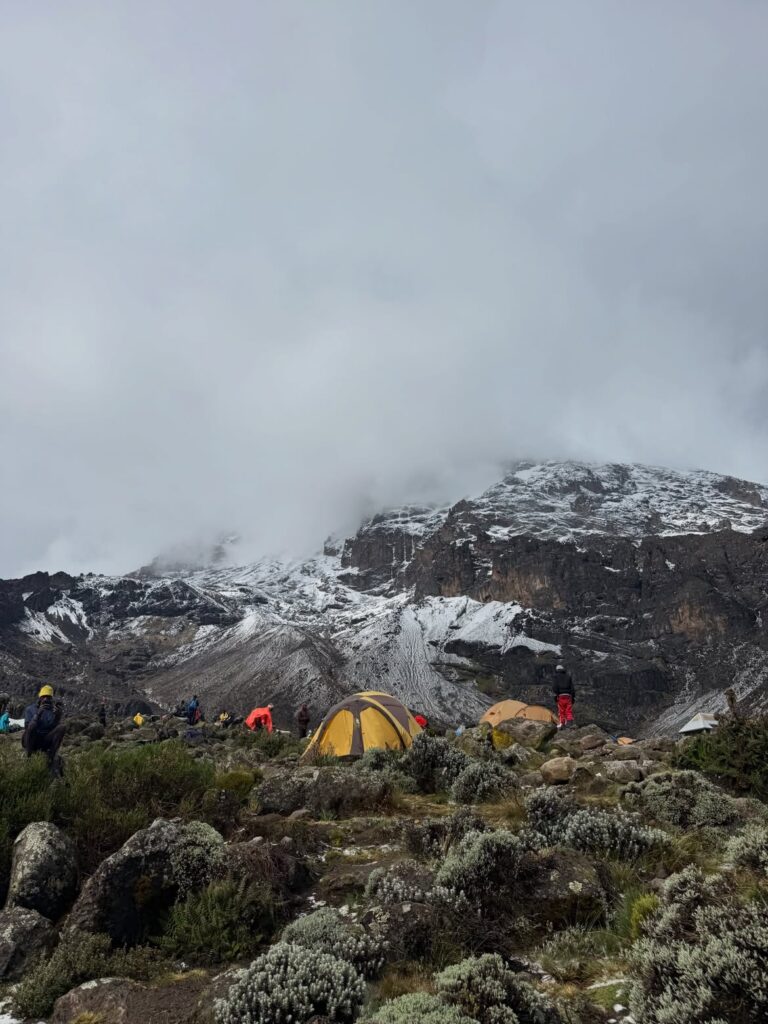
Summit night is the defining challenge of a Kilimanjaro climb. You start around midnight, you walk for 6–8 hours, the temperature sits somewhere between -10°C and -20°C (lower with wind chill), and you’re doing this at 4,600–5,895m (15,091-19,340 ft) where every step costs more oxygen than it would at sea level.
Your clothing system for this push is not about looking prepared. It’s a functional thermal management system that has to handle extreme cold, sustained physical effort, wind exposure on the crater rim, and rest stops where your body temperature drops quickly. Getting it wrong means a miserable night and a failed summit. Getting it right means you’re focused on the mountain rather than your own body.
Here’s what works, built from what guides observe every climb.
The Layering Principle
Clothing for extreme cold works on a layering system: base layer (moisture management), mid-layer (insulation), shell layer (wind and weather protection). Each layer does a specific job. The system only works when all three are doing their jobs.
Where people go wrong on Kilimanjaro summit night:
- Too much insulation, not enough wind protection. A thick down jacket without a windproof shell is a cold jacket on the crater rim.
- Cotton anywhere in the system. Cotton absorbs moisture and holds it against your skin. At -15°C, damp skin is a path to hypothermia.
- Single heavy layer instead of a system. A single thick coat doesn’t allow you to regulate temperature as exertion levels change — you’ll overheat on the climb and freeze during rest stops.
- Underestimating the gap between layers. Cold air finds entry points. The gap at wrists, ankles, and your midriff matters.
Layer 1: Base Layer
The base layer sits against your skin. Its job is to move moisture away from your body. When you’re working hard at altitude, you sweat — less than at sea level, but enough to matter. A base layer that holds moisture traps cold against your skin.
Material: Merino wool or high-quality synthetic (Patagonia Capilene, Icebreaker, etc.). Merino is the better choice for Kilimanjaro: it manages moisture, provides meaningful warmth even slightly damp, and doesn’t accumulate odor over multiple days (which matters on a 7-day climb).
Specification: Mid-weight merino for summit night — not ultra-lightweight thermal, not heavy expedition weight. Mid-weight merino top and bottom provide a genuine insulation contribution while managing moisture effectively.
Fit: Close-fitting but not tight. The base layer needs to sit against skin without restricting movement. Loose fit means air pockets that don’t warm quickly; too tight means restricted movement and potentially reduced circulation.
What doesn’t work: Any cotton. Thin running base layers designed for warm-weather sport. Compression layers designed for exercise rather than cold.
Layer 2: Mid-Layers (Insulation)
This is where most warmth is generated, and it’s typically multiple pieces rather than one.
Fleece or mid-weight insulated jacket
A fleece mid-layer or a synthetic-insulated jacket over your base layer forms the core of your thermal system. This is what traps warm air close to your body.
Best options:
- A 200-weight fleece (Patagonia R2, Arc’teryx Delta, etc.) — versatile, packable, works well under a shell
- A synthetic insulated jacket (Primaloft or equivalent) at 100–200g insulation weight — very warm for the weight, maintains performance in damp conditions
Note on down at mid-layer: Down mid-layers are very warm and very packable. If you’re carrying a down puffer as your mid-layer rather than your outer, make sure your shell layer goes over it. A down mid-layer exposed to wind without a shell loses much of its warmth.
Down jacket (outer insulation layer)
For summit night, most experienced Kilimanjaro climbers wear a high-loft down jacket as either their mid-layer or their primary outer insulation, with a hardshell over the top.
Specification: 700-fill power or higher, with reasonable coverage at the hips and wrists. A jacket that ends at your waist leaves your lower back and kidneys exposed. Longer-cut insulated jackets — or supplemented by insulated trousers (see below) — provide better overall warmth.
What to look for: Baffled construction (sewn-through or box baffled), hood that adjusts over a helmet or thick hat, draft collar at the neck, elastic or adjustable cuffs that seal against gloves.
Layer 3: Hardshell Jacket
This is non-negotiable and frequently undervalued. Your hardshell is the wind and weather barrier. Without it, even the best down jacket performs poorly in the wind that’s common on Kilimanjaro’s upper mountain.
Material: Gore-Tex or equivalent 3-layer laminate construction. Not water-resistant softshell. Not “waterproof” fleece. A technical hardshell that blocks wind completely and is fully waterproof.
Why this matters at altitude: At Stella Point (5,756m/18,884 ft) and on the walk to Uhuru Peak, the crater rim is exposed. Wind at this altitude is common, and wind at -15°C with wind chill turns what would be a merely cold experience into a dangerous one without proper wind protection. The shell layer keeps the insulation inside performing.
What most people get wrong: Bringing a softshell because it “feels warmer” when you put it on at home. Softshells are excellent mid-layers in mild conditions. They are not hardshells. They are breathable because they’re slightly permeable, which means they don’t stop wind as completely as a proper hardshell.
The Full Upper Body Stack on Summit Night
In order, from skin outward:
- Mid-weight merino base layer top
- Fleece mid-layer or synthetic insulated jacket
- Down jacket (high-loft, 700+ fill)
- Hardshell jacket
This sounds like a lot of clothing. It is a lot of clothing. During the active ascent sections, you may be warm enough that you unzip the hardshell or even the down layer slightly. During rest stops — and there will be rest stops — you want all of this closed and cinched. The cooling speed of a static body at altitude in wind is rapid.
Lower Body
Lower body protection is underweighted in most packing lists. The legs generate significant body heat during walking, which creates a false sense of warmth. But on rest stops, during the summit photo stop, and on any exposed sections, your legs need proper insulation.
Base layer: Merino or synthetic thermal leggings. Same logic as upper body.
Mid-layer: Fleece-lined or insulated trekking trousers, OR a separate insulated puffer jacket-equivalent for legs (puffer trousers/salopettes). For most people, good insulated trekking trousers over thermal leggings are sufficient. For people who run cold, adding salopettes adds meaningful warmth.
Shell layer: Softshell or hardshell overtrouser. The wind protection consideration applies to legs as well. On exposed summit sections, wind-cutting overtrowsers make a significant difference.
Fit considerations: Your lower body system has to work with your boots. Trousers that bunch or tighten around boot tops are uncomfortable for 8 hours. Check fit with your summit boots before you pack.
Head and Neck
Heat loss from an uninsulated head is significant. For summit night:
Balaclava: A merino or synthetic balaclava covers head, ears, and neck in one piece. It’s the most efficient single item for head/neck warmth. Worn under your down jacket’s hood and your hardshell’s hood, it removes virtually all exposed skin above the gloves.
Warm hat over balaclava: A wool or fleece beanie worn over the balaclava provides additional insulation.
Gaiter/neck tube: If using a hat-plus-balaclava system, check that neck coverage is complete. The space between your top layer’s collar and your chin is a heat-exit point. A neck tube fills it.
Hood: Both your down jacket and your hardshell should have functional hoods. On summit night, these are not decorative. Use them. A down hood under a hardshell hood creates an effective barrier even in wind.
Headtorch: Worn over the hat, not the balaclava. Elastic band on a warm hat stays in place; elastic on a bare balaclava migrates. Ensure your headtorch is tested and has fresh batteries — cold kills battery life. A spare set of batteries in an inner pocket (kept warm by your body) is worth the minimal weight.
Feet and Boots
Socks: Two-layer system — thin liner sock and heavy wool/synthetic trekking sock. Or a single pair of heavy merino trekking socks (Darn Tough, Smartwool, etc.) if they’re thick enough. Socks that bunch or slip inside your boot cause blisters. Test the combination with your specific boots before departure.
Boots: Stiff leather or plastic mountaineering boots are ideal for summit night but unnecessary for most climbers. Good quality leather trekking boots or 4-season approach boots (insulated) are the practical standard. What matters most: insulation, waterproofing, and full break-in before you arrive. Waterproof boots in the lower forest zone wet will stay wet inside without proper treatment; treat leather boots with appropriate waterproofing before departure.
Gaiters: Optional for most conditions, but useful on summit night on snowy sections or in fresh snow above Stella Point. Low gaiters prevent trail debris from entering boot tops; high gaiters provide additional insulation and weather protection on the lower leg.
Hand warmers in boots: For people who suffer cold feet in cold conditions generally, air-activated hand warmers placed over the toe box before putting boots on provide meaningful warmth for 4–6 hours.
Packing for Summit Night
Most routes involve leaving your main pack at Barafu and ascending with a day pack. This day pack needs to carry:
- Water (minimum 2 litres, in an insulated bottle or insulated hydration bladder)
- Food (trail mix, gels, cereal bars — items you can eat in the dark with gloves on)
- Spare gloves (mittens as backup)
- Head torch + spare batteries
- Camera/phone (in an inner pocket where your body keeps it warm — cold kills battery)
- Any medications (altitude meds, Diamox, Diamox if carrying, pain relief)
- Emergency layers if anything is less warm than expected
The day pack should be comfortable with all your layers on. Test this at home — put on your summit night clothing and load the pack. The fit changes significantly.
What Guides See Every Climb
A few observations from the pattern of what guides consistently notice on summit night:
Inadequate gloves cause more suffering than inadequate any other item. People over-invest in jackets and under-invest in hand protection. See the full gloves guide for the specific system.
Wet footwear from lower zones arriving at high camp means cold feet on summit night. Dry your boots as much as possible at Barafu. Change into dry socks immediately if yours are damp.
People who got warm early and shed layers are often the coldest on summit night — because the layers they removed are in their main pack at Barafu, not in their summit day pack. Pack every layer you own into your summit day pack.
Forgetting to eat and drink because it requires removing gloves or opening a pack. This is manageable with planning — pre-pack snacks in accessible pockets, use an insulated drink that stays liquid, put snacks somewhere you can access without fully opening your pack.
For the full kit list beyond summit night clothing — including what to bring on all seven or eight days, what we provide, and what you can rent — see our Kilimanjaro packing list. And for an honest account of what summit night actually feels like from the first step out of camp to Uhuru Peak, read our summit night guide.